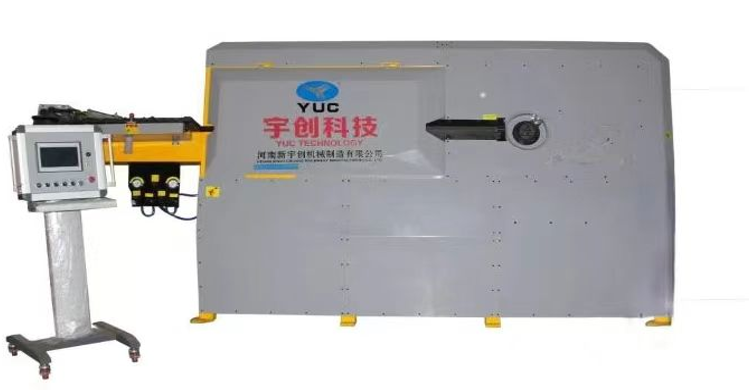
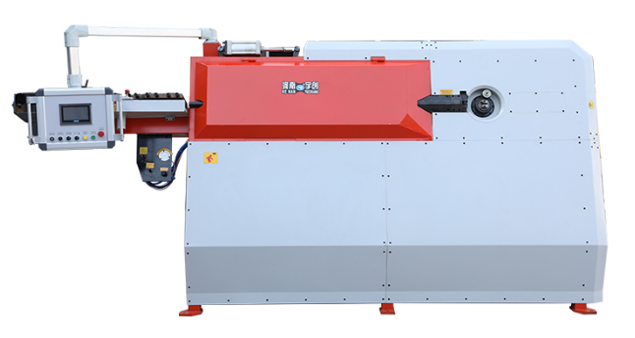
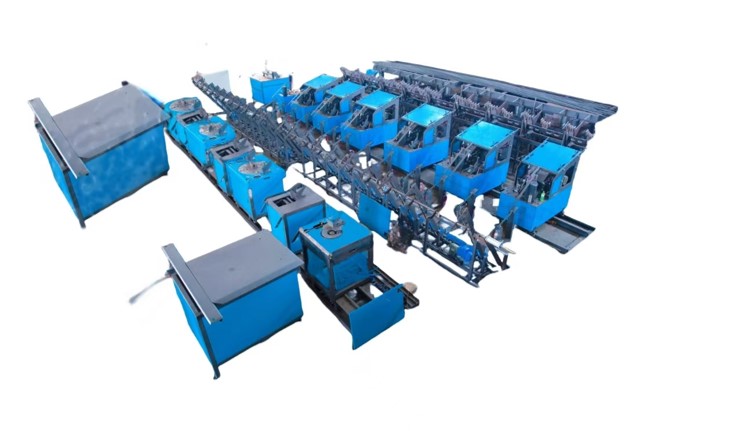
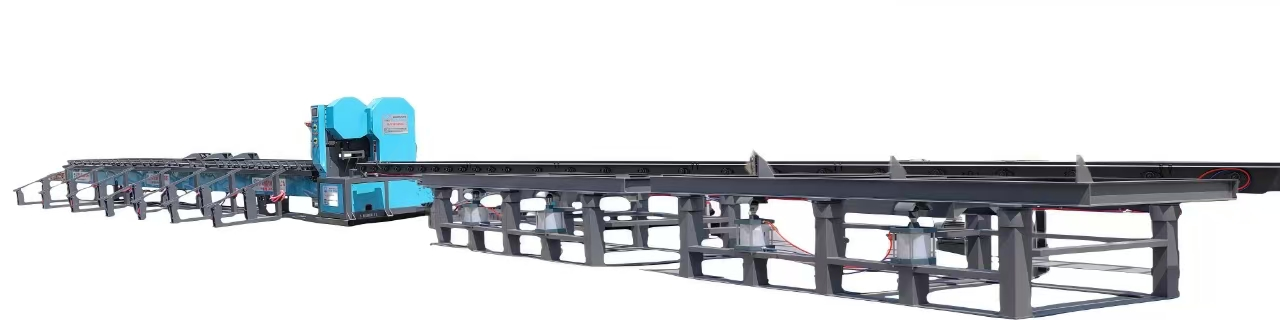
Pre-cut the main rebars and connect them by butt welding or couplers to the length required by the drawings, then place them on the main rebar storage rack for later use. The storage rack is suitable for storing 9m/12m/18m/22m rebars; it is entirely welded and assembled from H-shaped steel, with a sectional structure divided every 2 meters for easy disassembly and transport.
Step 2: Hoop Rebar Loading
Lift the coiled rebar onto the pay-off rack. The maximum load capacity is 2 tons, height over 1.7m, and the columns can be customized as telescopic.
Step 3: Main Rebar Threading and Clamping
Workers distribute the main rebars evenly along the circumference of the distribution plate and pass them through the guide tubes of the fixed plate and the movable plate’s annular template. The rebars are clamped inside the movable plate’s guide tubes with bolts. The distribution plate system is composed of multiple plates, connected with the fixed plate, and can rotate synchronously. Rollers at the ends reduce rotational resistance. When clamping, attention must be paid to the staggered length of each main rebar, usually about 1 meter.
Step 4: Hoop Rebar Threading and Winding Fixation
Pass the hoop rebar through the straightening mechanism, then cross-weld it with the main rebars to fix.
Step 5: Welding and Forming
-
Initial welding: At the head of the rebar cage, the fixed plate and movable plate rotate synchronously to wind the hoop rebar side by side for several turns, then weld it firmly to the main rebars.
-
Formal welding: The fixed plate and movable plate rotate synchronously, while the movable plate moves forward. The hoop rebar is automatically wound around the main rebars and welded at the same time, forming the rebar cage.
-
Final welding: At the end of the cage, both plates continue rotating, welding is paused, the hoop rebar is wound side by side for several turns, then the end of the hoop is welded firmly onto the main rebar, completing the welding. (In China, CO₂ shielded welders are generally used; less slag, high weld quality. An automatic welding robot can also be selected (extra cost), with a maximum welding speed of 40–60 points/min.)
Step 6: Separation of Rebar Cage from Rotating Plates
Cut the hoop rebar: move the movable plate forward to separate the rebar cage from the fixed plate; loosen the bolts clamping the main rebars in the movable plate’s guide tubes; move the movable plate forward again to separate the cage from the movable plate.
Step 7: Cage Unloading and Lowering Hydraulic Supports
Unload the cage using an overhead crane or by manually rolling it off.
During the entire welding process, to prevent the rebar cage from deforming under its own weight, multiple hydraulic support devices must be configured.
The specially designed hydraulic station adopts general-purpose domestic hydraulic components, ensuring durability and high interchangeability.